[숙제]프로그라피 공통세션 -FE(5주차)
TO-DO List (~10/6)

1. src/elements/index.js 코드 분석하기.
2. src/elements/index.js에 있는 코드를 개선해보기, 혹은 자신이 더 고민해서 구현해보기.
3. app.js에 getUserList 함수 구현
    - fetch를 이용하여 localhost:3000/users 데이터 가져오기.
    - details에 렌더링되는 함수를 참고하여, 가져온 데이터를 사용하여 렌더링 시킬 Elements 구현하기.
    - index.html를 참고하여, <section id='user-list'></section> 안에 list 렌더링 하기.
    - style은 src/assets/form.css에 정의하기.
4. 모르면 아래 참고사항 꼼꼼히 읽어보기, 그래도 모르면 검색하고 StackOverFlow 글 읽어보기, 또 모르면 검색/정리해서 질문하기.
How to submit report
- Build commits in your github repository(Recommend TIL).
- TIL: Today I Learned
- Make a Branch(Never use master), and PR from Working Branch to master.
- PR: Pull Reaquest
- Tell me PR URL, I will review your codes.
- Finish.
src/elements/index.js 코드 분석하기.(TO-DO 1)
/*
 ** Check Object is Empty or not.
 */
const isEmpty = (obj) => {
  Object.keys(obj).forEach((key) => {
    if (Object.prototype.hasOwnProperty.call(obj, key)) {
      return false;
    }
    return true;
  });
};
const isEmpty
주석과 오브젝트 이름으로 알 수 있듯이 isEmpty는 오브젝트가 Empty인지 아닌지 판별하는 기능을 가진다.
MSDN에 따르면 정의는 아래와 같다.
hasOwnProperty() 메소드는 객체가 특정 프로퍼티를 가지고 있는지를 나타내는 불리언 값을 반환한다.
선택한 오브젝트에 임의의 키값들을 넣어서 없는경우 false를 반환하는데..쓰는데가 없는듯?하다..
/*
 ** Create and Render Element into target with attributes.
 */
const createElements = ({
  tag,
  attributes,
  content,
  children,
}) => {
  if (!tag || typeof tag !== 'string') {
    console.error('tag argement is required and string');
    return null;
  }
  const element = document.createElement(tag);
  if (Array.isArray(attributes) && attributes.length) {
    attributes.forEach(({
      name,
      value,
    }) => {
      element.setAttribute(name, value);
    });
  }
  if (content && typeof content === 'string') {
    element.innerHTML = content;
  }
  if (Array.isArray(children) && children.length) {
    children.forEach((child) => {
      // Reculsive methods
      // 아래 childEelement = createElements부분 오타가 보입니다.
      const childEelement = createElements({
        tag: child.tag,
        attributes: child.attributes,
        content: child.content,
        children: child.children,
      });
      element.appendChild(childEelement);
    });
  }
  return element;
};
createElement
- 마찬가지로 이름으로 알 수 있듯이
createElement는 attribute와 함께 target에 Element를 만들거나 Render한다..? - 만약 tag가 없거나
string이 아닌경우 오류를 발생시키며 null을 리턴한다/ - element 객체에는 createElement() 함수를 이용하여 tag 라는 이름을 가진 엘리먼트를 생성해 담는다.
- 만약 attributes가 배열이거나 length가 있는 경우, element의 attribute에 name과 value를 나누어 집어넣는다. (아니더라도 작업은 동일하다)
- content가 존재하거나 string type인 경우 element.innerHTML을 이용하여 element의 내부 HTML코드를 변경한다.
- 만약 children이 Array인경우 child를 꺼내서 childElement에 담아 appendChild함수를 이용하여 문서에 추가합니다.
const createAndRenderElement = ({
  tag,
  attributes,
  content,
  children,
}, target, isClean = false) => {
  const element = createElements({
    tag,
    attributes,
    content,
    children,
  });
  if (isClean) {
    while (target.hasChildNodes()) {
      target.removeChild(target.lastChild);
    }
  }
  target.appendChild(element);
};

export {
  isEmpty,
  createAndRenderElement,
};
- createAndRenderElement는 tag, attributes, content, chidren을 가지며 isClean 값에 따라 조금 다르게 target에 element를 추가한다.
- isClean = false인 경우 target에 바로 element를 추가한다.
- isClean = true인 경우 target의 lastChild를 삭제하고 element를 추가한다.
src/elements/index.js에 있는 코드를 개선해보기, 혹은 자신이 더 고민해서 구현해보기.(TO-DO 2)
수정하여 커밋합니다.
app.js에 getUserList 함수 구현(TO-DO 3)
fetch를 이용하여 localhost:3000/users 데이터 가져오기.
먼저 index.html에 버튼을 하나 추가하고 app.js에 fetch함수를 이용하여 localhost에 있는 json데이터를 가져와보았다.
// app.js
const getDatabutton = document.getElementById('getdataButton');
const getUserList = () => {
//1.fetch를 이용하여 localhost:3000/users 데이터 가져오기. MSDN 및 위의 코드 참조
fetch('http://localhost:3000/users')
.then(res => res.json())
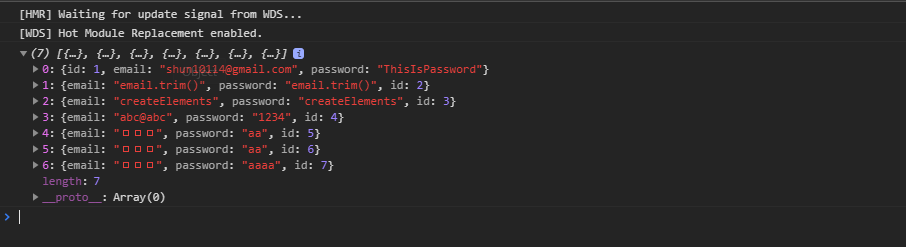
.then(json => console.log(json))
.catch(error => console.log(error));
//2.details에 렌더링되는 함수를 참고하여, 가져온 데이터를 사용하여 렌더링 시킬 Elements 구현하기.
//3.index.html를 참고하여, <section id='user-list'></section> 안에 list 렌더링 하기.
//4.style은 src/assets/form.css에 정의하기.
};
getDatabutton.addEventListener('click', getUserList);
<button type="button" class="registerbtn" id='getdataButton'>GetData</button>
결과는 다음과 같다.
details에 렌더링되는 함수를 참고하여, 가져온 데이터를 사용하여 렌더링 시킬 Elements 구현하기
데이터가 잘 넘어가는 것을 확인했으니 예제코드를 참조하여 렌더링시킬 Elements를 구현하자.
요부분은 집어넣는 부분이었다.
{
  //app.js
    method: 'POST',
    headers: {
      Accept: 'application/json',
      'Content-Type': 'application/json',
    },
    body: JSON.stringify({
      email: email.trim(),
      password,
    }),
}
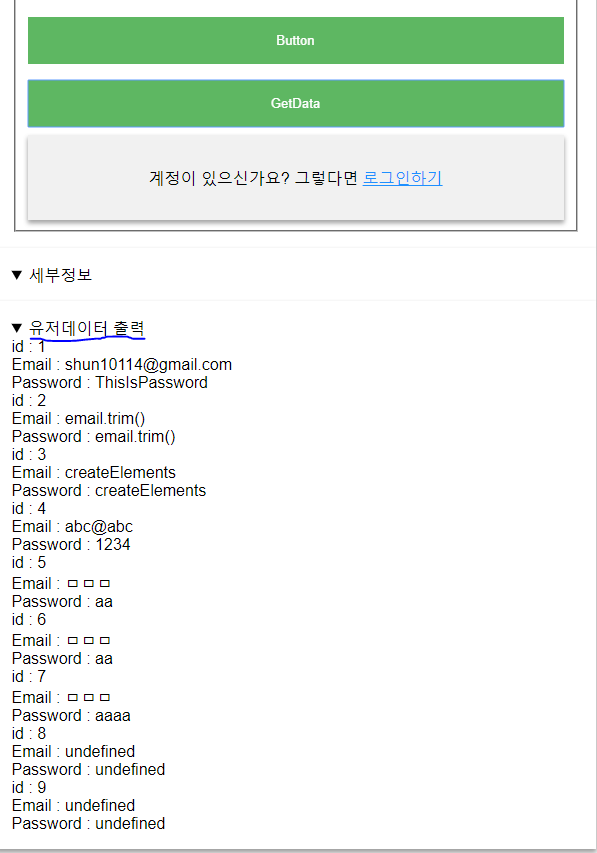
getUserList 함수를 아래처럼 구현하여 일단 json 값만 출력해보았다.
const getDatabutton = document.getElementById('getdataButton');
const getUserList = () => {
  //1.fetch를 이용하여 localhost:3000/users 데이터 가져오기. MSDN 및 위의 코드 참조

  fetch('http://localhost:3000/users')
  .then(response => response.json())
  .then( json => {
    for(var key=0; key<json.length; key++){
        createAndRenderElement({
          tag: 'div',
          attributes: [{
            name: 'class',
            value: 'hello',
          }],
          children: [{
            tag: 'div',
            content: `<label>id : <span>${json[key].id}</span> </label>`,
          }, {
            tag: 'div',
            content: `<label>Email : <span>${json[key].email}</span> </label>`,
          }, {
            tag: 'div',
            content: `<label>Password : <span>${json[key].password}</span> </label>`,
          }],
        }, document.getElementById('user-details'), false)
    }
  })
  .catch((error) => {
    console.error('@@@', error);
  });
};
getDatabutton.addEventListener('click', getUserList);
결과는 다음과 같다.
index.html를 참고하여, <section id='user-list'></section> 안에 list 렌더링 하기.
위에서 완성했으니 세부내용은 패스합니다.
style은 src/assets/form.css에 정의하기.
수정하여 커밋합니다.
181019 추가. 너무 바쁘다…. 애니메이션만 간단하게 추가해보았다.
목표: DIV를 동적으로 생성해서 ID값들을 출력해보자.
모르면 아래 참고사항 꼼꼼히 읽어보기, 그래도 모르면 검색하고 StackOverFlow 글 읽어보기, 또 모르면 검색/정리해서 질문하기.
레퍼런스 사이트를 읽어봅니다.
댓글남기기